Shotpeening
In short
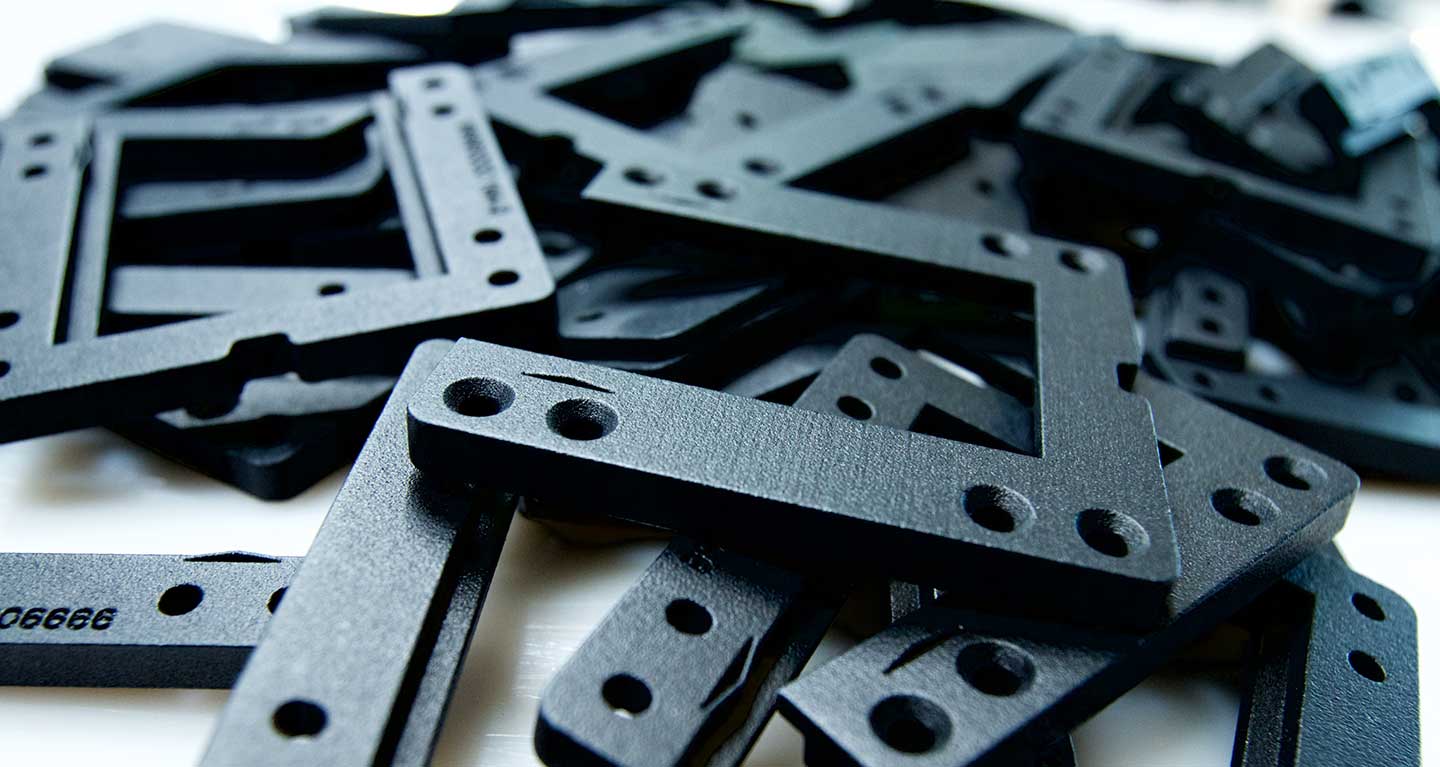
Shotpeening is our go-to post-processing step, should you want smoother parts. It makes the surface more even and gives the parts a satin gloss finish.
Finished your design? Make sure to check:
- Maximum dimensions 250 x 250 x 500 mm.
- Internal cavities, the treatment won’t reach those surfaces.
About shotpeening
Contrary to FDM printing, SLS printed parts have virtually no layer distortion. Untreated, the surface is comparable to that of a peppermint. To smoothen the surface, we can apply shotpeening.
The first post-processing step, removing excess powder directly after printing, is done by blasting the parts with glass beads. This is the standard post-processing, performed on all our parts.
Shotpeening is a second blasting step. We use a different type of beads, resulting in a homogeneous and smooth surface.
The advantages are multiple: the surface of your parts is smoothened to a satin gloss, less porous and even resulting in slightly better mechanical properties. And because of the denser surface, any impregnated color is a lot more even and wear resistant.
Shotpeening versus tumbling
If you have ordered 3D-printed parts before, you have probably heard of ‘tumbling’ or ‘polishing’. A process that uses pebbles to sand the parts and smoothen the surface.
It is an abrasive technique, meaning some material thickness will be lost in the process. Smaller parts can become fragile or even break during this post-process.
Shotpeening is a completely different process, smoothening the surface by condensing it. During the shotpeening process, tiny beads are blasted onto the surface, resulting in a more homogeneous, compressed surface, more resistant to wear, cracks, and material fatigue.
The impact on the tolerance is almost non-existent. The tiny beads used in shotpeening can reach almost all nooks and crannies, except of course for internal cavities.
Shotpeening even has a positive effect on the color impregnation process. Because the surface is denser and smoother, it is easier to create an even color that is more consistent between various production batches.

