The Selective Laser Sintering (SLS) process
In short
With these guidelines we aim to give you tips on how to optimize your design for Selective Laser Sintering (SLS) printing. But before we dive deep into tolerances, materials, and design features, let’s have a closer look at the specifics of the 3D-printing process at Parts on Demand.
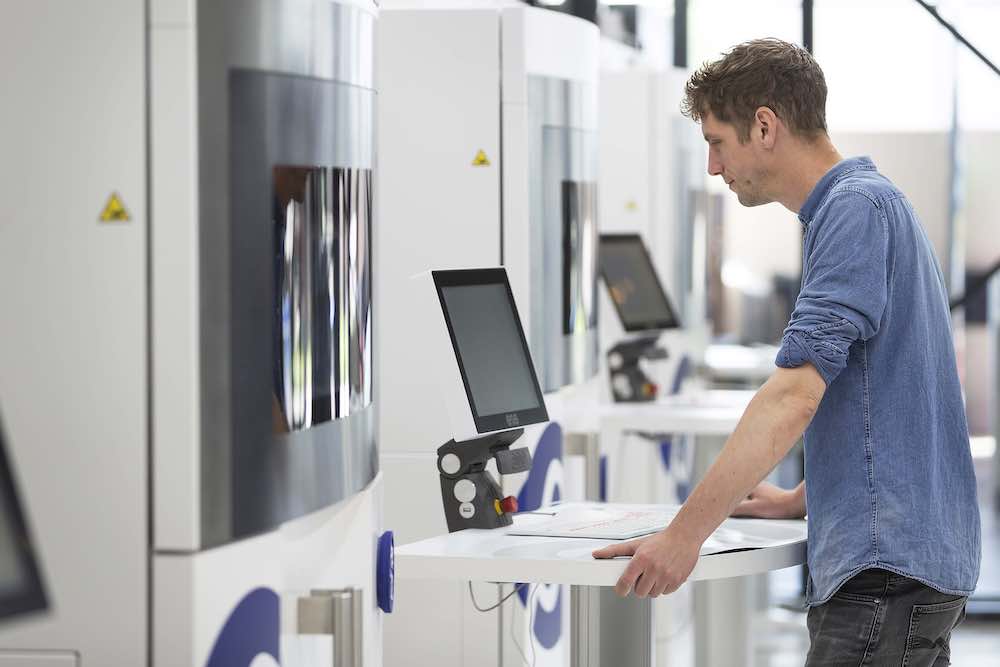
Step 1: Build preparation
Once the CAD model of a part is finalized, it needs to be prepped for printing. We assess each individual part to determine the most ideal orientation for the printing process. The orientation has a very large impact on the tolerances and finish of the part.
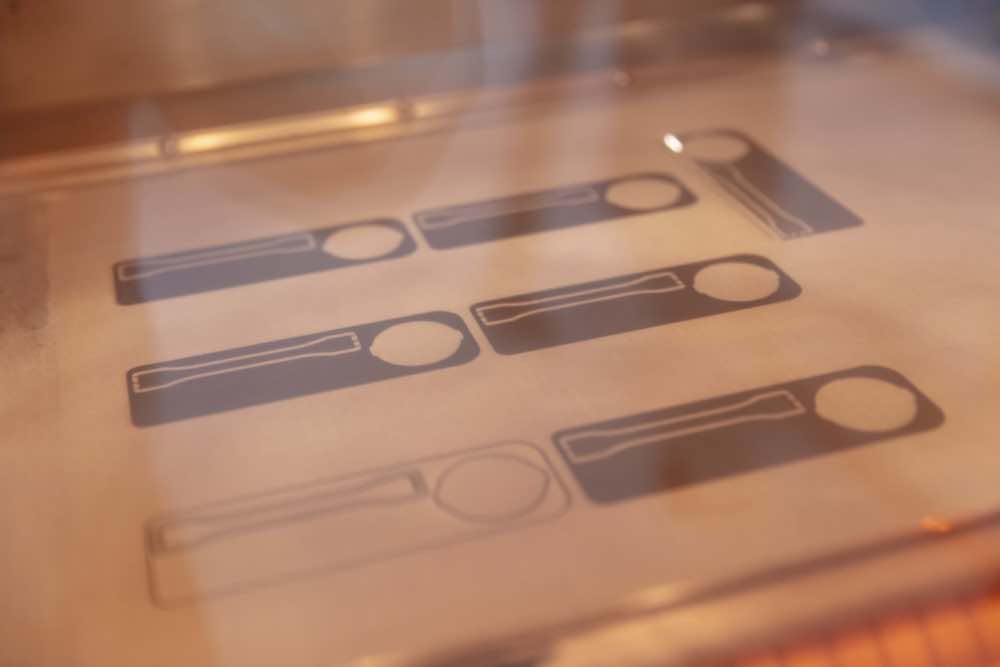
In one SLS printing batch multiple parts can be printed. Our operators use specialized software to optimize each batch. The program calculates the printing time and converts the CAD models into layers which are fed to the printer.
Step 2: SLS printing
With SLS, just like with any other 3D-printing technique, the model is built-up layer by layer. SLS however does not use a filament, but prints the parts using a powder bed.
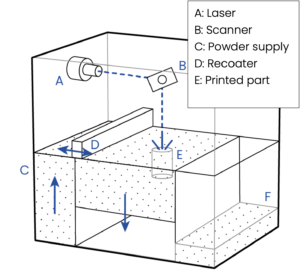
A so-called recoater deposits a thin layer of powder on the building platform. This layer is heated, and a laser melts a thin slice of the product in this layer. This process is repeated until all slices of the product have been melted.
The standard powder we use is a Nylon. This material is characterized by a relative high strength and flexibility. SLS has a standard layer height of 0,1 mm per layer. Due to its mat finish the products show less visible layering than extrusion printed parts (FDM).
Step 3: Cooling and cleaning
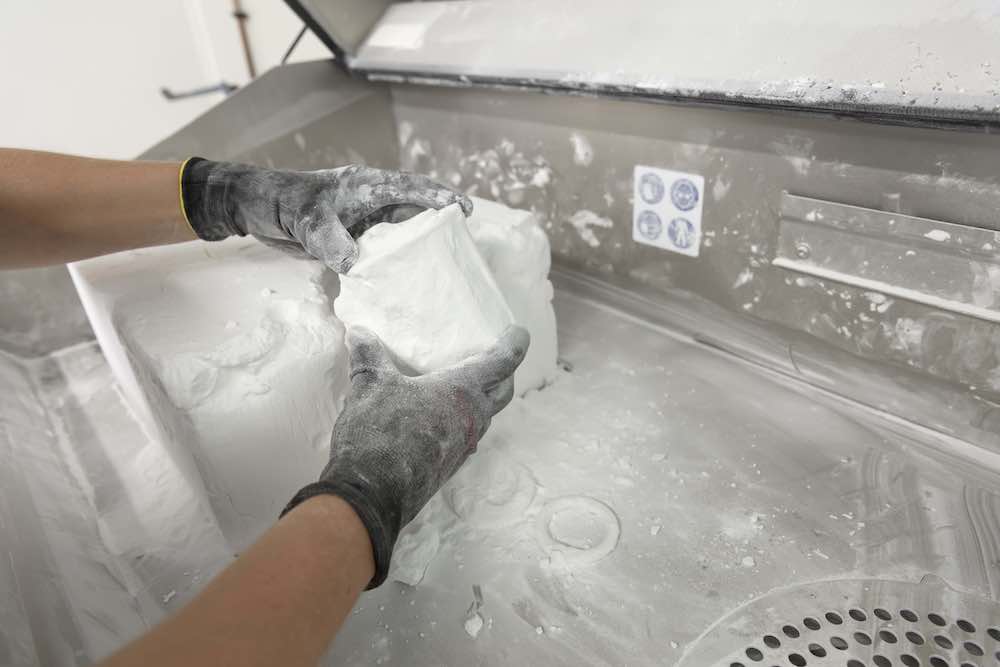
Once the process in completed, the printing chamber still has a temperature of around 170°C, way too hot to handle. Each batch is left to cool down slightly in the 3D-printer, after which it is transferred to the unpacking room to further cool for 12 to 72 hours.
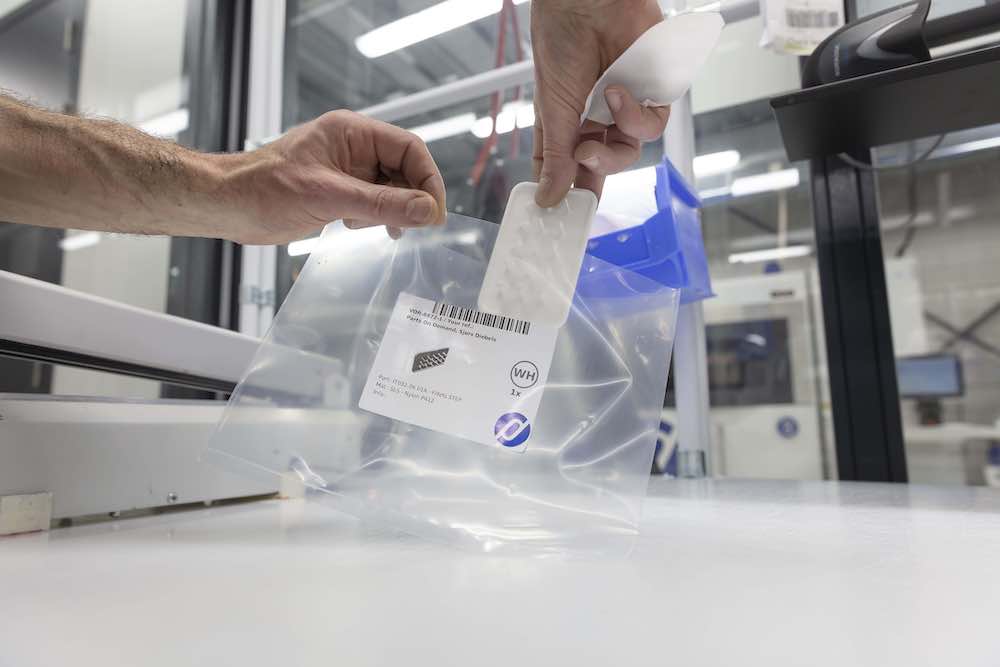
After cooling, the powder cake is unpacked manually to retrieve all the individual parts. The excess powder is collected and rerouted back into the process. The ability to directly reuse the surplus material makes SLS printing one of the most efficient manufacturing methods.
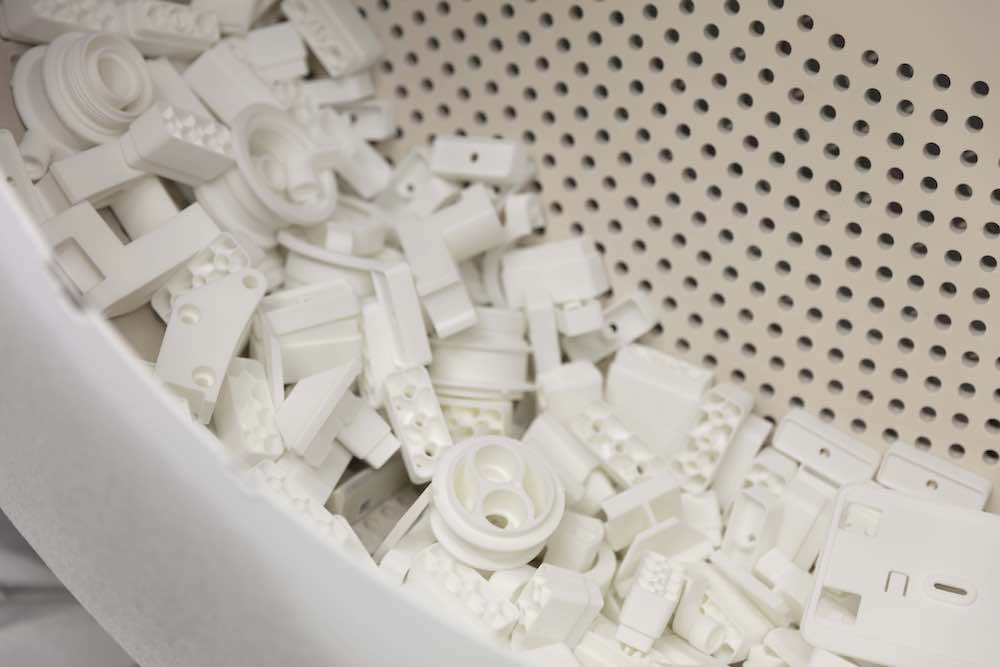
The parts are then blasted with glass beads, removing any other loose excess powder, roughening the surface a little.
Step 4: Post-processing
The parts are now ready to use. Several optional post-processing steps can be applied to improve the surface quality or appearance. Shotpeening or coloring, for example. We will get into these post-processing steps in the following chapters.